A Guide to Add a Handheld Shower Head
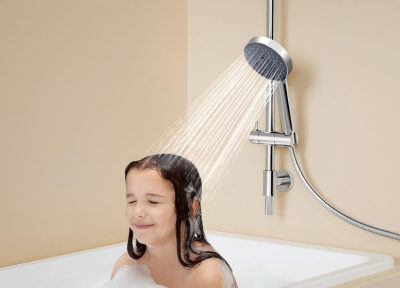
Are you looking to make your shower more convenient and versatile? If you’re caring for a baby, assisting an elderly family member, or even washing your pet, you’ve probably thought about how much easier it would be with a handheld shower head.
The good news is, adding one to your existing setup isn’t as complicated as it seems. This guide will show you exactly how to do it, step by step.

Can I Add a Handheld Shower Head?
According to data from Emergen Research, fixed shower heads are the most common setup in American households. But as family needs evolve, many people find themselves wishing for the added flexibility of a handheld shower head.
Fortunately, adding a handheld shower head to your existing setup is not only possible but relatively simple. This guide is here to show you exactly how to add a handheld shower head to your existing setup, no matter your current configuration. Whether you want to keep your fixed shower head or replace it entirely, we’ll walk you through the process step by step.
Should I Hire a Plumber?
- DIY-Friendly: If you’re comfortable using basic tools like a wrench and plumber’s tape, you can likely handle the installation yourself. This option saves time and money while giving you a sense of accomplishment.However, you may encounter challenges such as leaks, water pressure issues, or compatibility problems, especially with older plumbing or tight spaces.If you have any questions or need assistance, KES's 24-hour customer service team is always ready to help, ensuring a smooth installation process.
- Consider a Plumber If:
- You have no experience with plumbing or tools.
- Your plumbing system is outdated or requires repairs.
- You’re unsure about the best way to proceed.
Hiring a plumber ensures professional results but comes with additional costs, so weigh your options carefully.
What Tools And Instructions You’ll Need
Before starting, gather the following:
- Tools: Adjustable wrench, plumber’s tape, and a cleaning cloth.
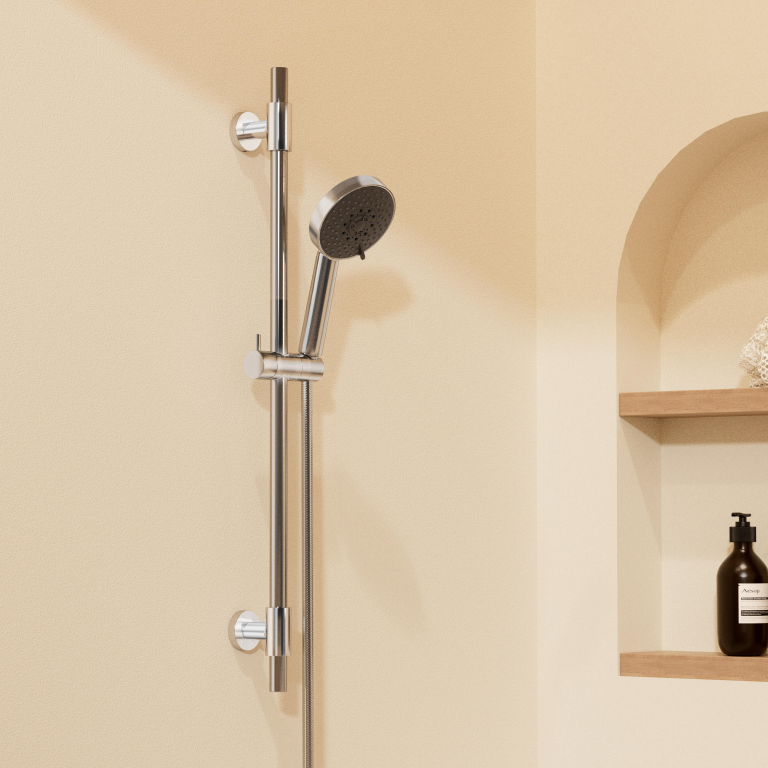
- Handheld Shower Head Kit: Includes the shower head, hose, and mounting bracket.
- Optional: A diverter valve if you plan to keep your existing fixed shower head.
- Instructions: Follow this guide, and you’ll be able to finish the installation step by step.
Step by Step Guide to Adding a Handheld Shower Head
Step 1: Choose the Right Handheld Shower Head
Before starting, make sure you pick the best handheld shower head for your needs. Consider these factors:
- Water Pressure: Choose a shower head compatible with your home’s water pressure for optimal performance.
- Spray Settings: Look for multiple spray patterns, such as massage or gentle mist, to suit your preferences.
- Hose Length: A longer hose offers more flexibility, especially useful for tasks like bathing pets or kids.
- Durability: Opt for high-quality materials like stainless steel or ABS plastic to avoid frequent replacements.
The right choice will make installation smoother and provide lasting convenience.
Like the KES KP501B, offer five modes: Trickle, Massage, Relaxing Massage, Full Coverage, and Soothing Massage.One feature worth mentioning is the Trickle mode, which allows you to save water while maintaining the desired flow and temperature, making it perfect for tasks you need to complete in the bathroom.
Made with 8% nickel-content stainless steel, it offers superior rust resistance compared to industry standards, even in humid bathroom conditions. This commitment to authentic materials ensures durability and reduces the hassle of frequent replacements, making it a reliable choice for long-term use.

Step 2: Remove the Existing Shower Head
- Turn Off the Water Supply (If Necessary): While it’s not always needed, turning off the water ensures no unexpected sprays.
- Loosen the Current Shower Head: Use an adjustable wrench to unscrew the shower head by turning counterclockwise. Hold the shower arm steady with your other hand to prevent damage.
- Handle Stubborn Heads: If the head is stuck due to mineral buildup, apply penetrating oil, wait a few minutes, and try again.
- Clean the Threads: Once removed, inspect the shower arm for debris or old plumber’s tape. Use a rag to clean the threads thoroughly. Wrap fresh Teflon tape clockwise around the threads to prevent leaks during reinstallation.
Step 3: Attach the Diverter Valve (Optional)
If you plan to keep the fixed shower head, a diverter valve allows you to switch between the two or use both simultaneously.
- Install the Diverter: Screw the valve onto the shower arm by hand and tighten gently with a wrench.
- Check Alignment: Position the diverter handle for easy switching during use.
Step 4: Connect the Hose and Handheld Shower Head
- Attach the Hose: Screw one end of the hose into the diverter valve (or directly to the shower arm if no diverter is used). Ensure a snug fit with plumber’s tape.
- Secure the Handheld Shower Head: Connect the other end of the hose to the handheld shower head. Tighten both ends by hand, then use a wrench for a final, gentle adjustment.
Step 5: Test for Leaks and Adjust the Settings
- Turn the Water Back On: Slowly turn on the water supply and observe all connections for leaks.
- Tighten If Necessary: If any leaks appear, turn off the water and tighten the connections.
- Experiment with Spray Patterns: Test the handheld shower head’s different modes to ensure they work as expected.
Conclusion
Adding a handheld shower head is a simple but impactful upgrade for your bathroom. However, we understand that choosing the right installation option can be a bit tricky. If you’re unsure which solution is best for your bathroom, don’t hesitate to reach out to our KES customer service team. They can help guide you through the decision-making process and suggest the best setup based on your space and needs.
Alternatively, if you're looking for hands-on assistance, a professional plumber can ensure that the installation is done correctly and efficiently. No matter which option you choose, the right handheld shower head can elevate your daily routine. Take the next step today—your new, upgraded shower experience is just around the corner!
stay tuned
Subscribe now to receive the latest advice on DIY projects


.jpg)
